Getting started with IvyChat in 5 simple steps
Are you new to IvyChat and unsure how to begin? This guide provides a step-by-step walkthrough to help users access, log in, and initiate a conversation with IvyChat – maximizing the benefits of this powerful tool.
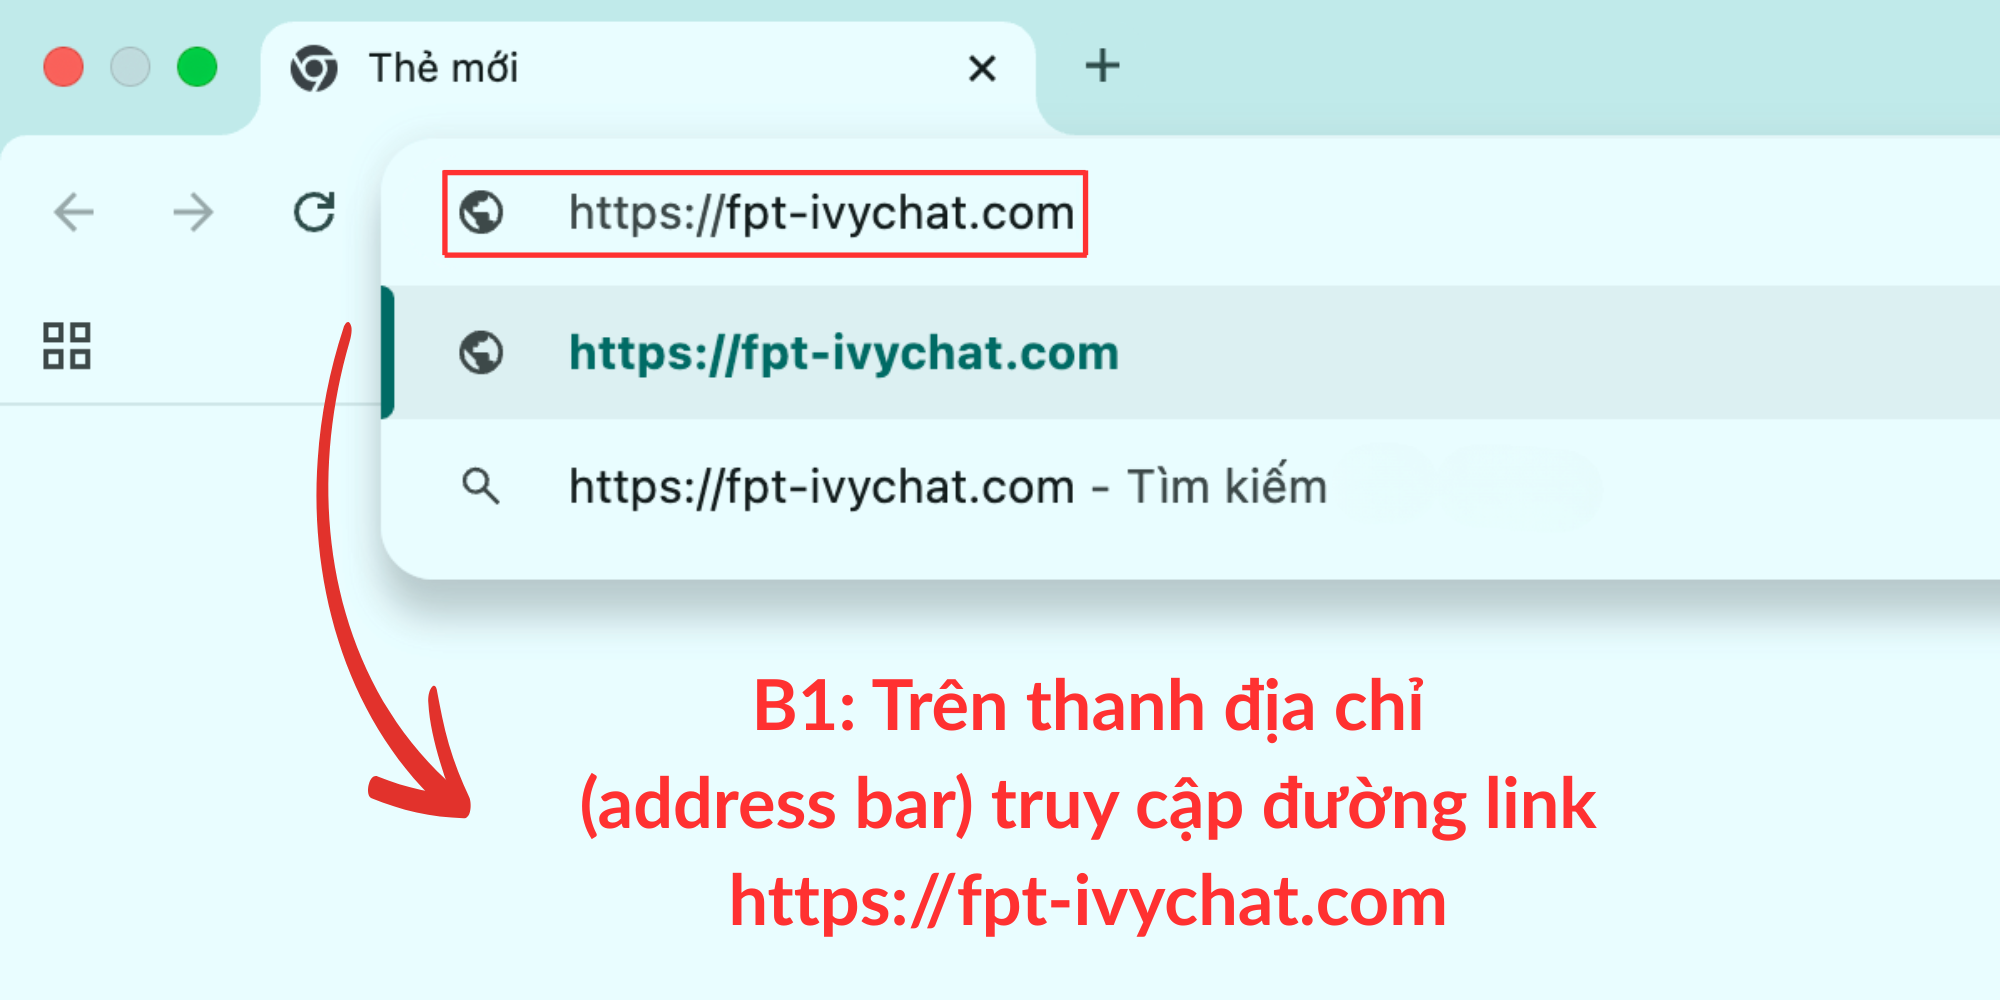
Step 1: Access the Platform
Open your web browser and enter the following address:
👉 https://fpt-ivychat.com
You will be directed to the main interface of the IvyChat platform.
Step 2: Log in with Your FPT Account
Click the “Continue with Microsoft” button to sign in using your corporate account. If you already have an SSO (FPT Mail) account, the system will authenticate and redirect you directly to the chat creation page.
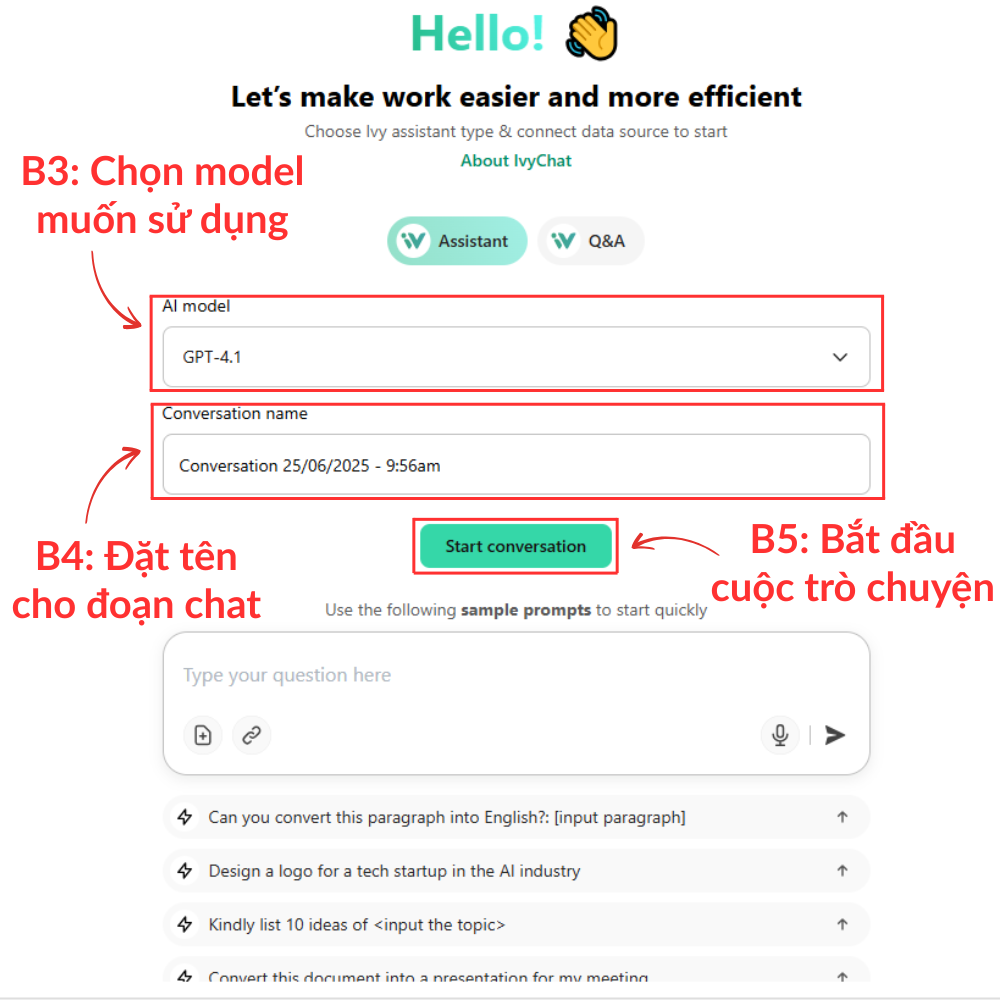
Step 3: Select the AI Model
On the chat creation screen, locate the “AI model” section. Click to choose the appropriate model (e.g., GPT-4.1, GPT-3.5, etc.).
💡 Tip: If this is your first time using IvyChat, we recommend selecting the default model suggested by the system.
Step 4: Name Your Chat Session
You may assign a name to your chat for easier management later on, such as: “Customer Email Draft – 25/6”; “Meeting Summary – Marketing”. Naming your sessions helps you quickly locate past conversations in your chat history.
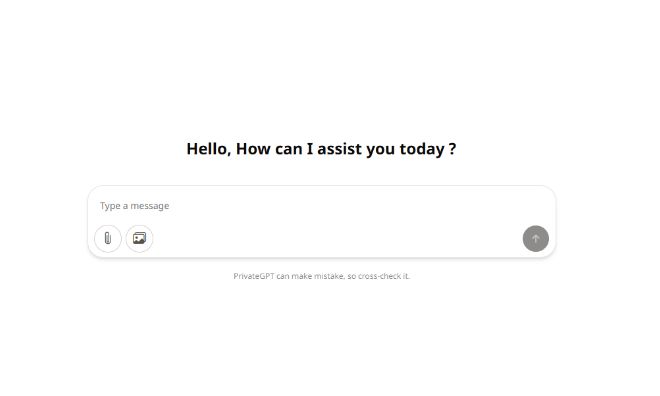
Step 5: Click “Start Conversation” to Begin
Once all the above steps are completed, click “Start conversation” to begin chatting with the AI.
IvyChat will take you to the main chat interface, where you can enter prompts and receive instant responses.
You are now ready to engage with your versatile assistant, IvyChat! If you encounter any issues or need further assistance, feel free to submit a support ticket or reach out to the advisory team.
